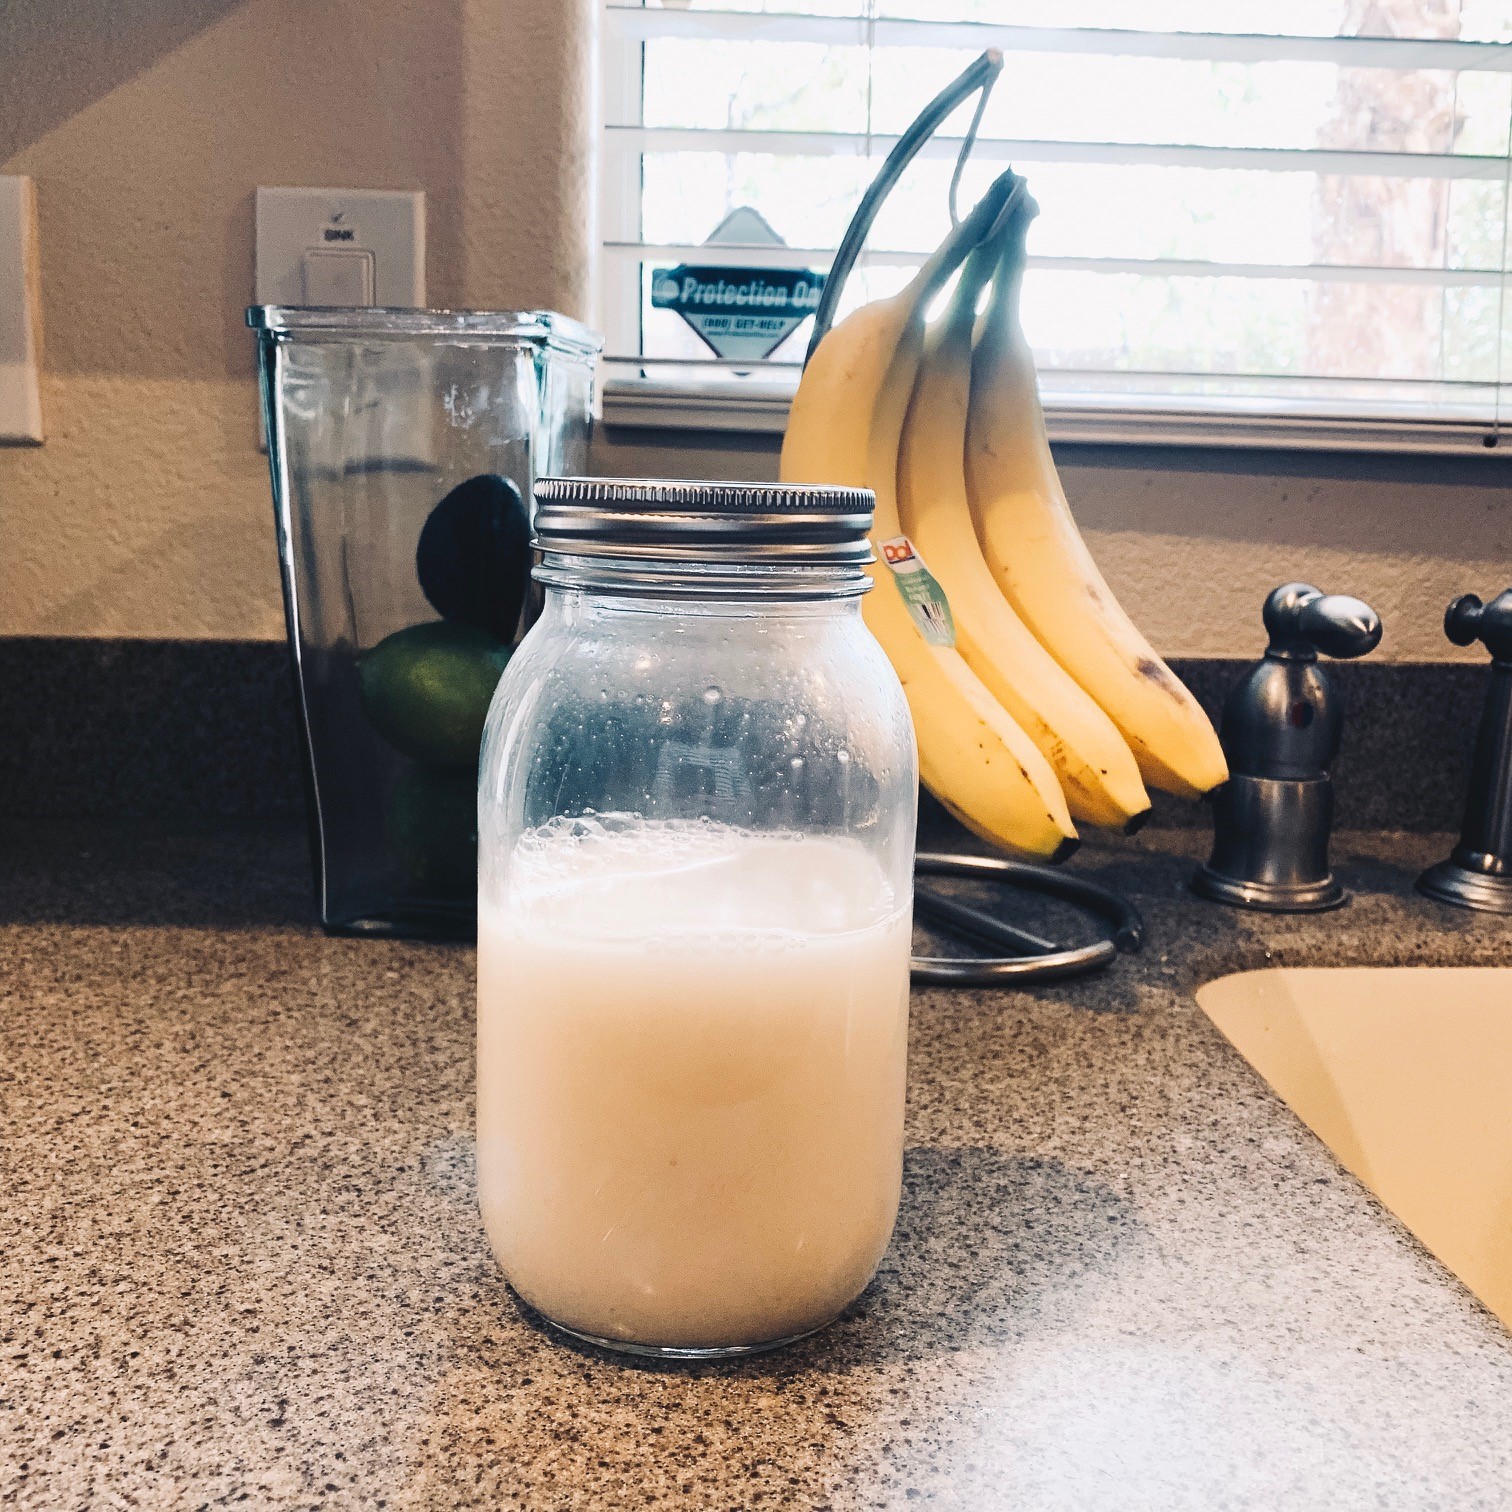
There are a plethora of allergies out there in the world and I am immune to none of them it seems like. Dairy is one of my biggest setbacks. Milk makes me break out in hives and I have a handful of friends that are lactose intolerant. ENOUGH IS ENOUGH, so move over coconut milk, rice milk is taking point on this one.
The days of picking between whole milk, skim, milk or 2% are long gone. The endless options we have now could easily take up an aisle at the supermarket. However, the prices on them can be a little more than what we would typically like to pay for a dairy free product.
Making your own rice milk can be an extremely easy and cost-effective way to add in a new type of milk into your diet and keep your checkbook balanced (do people still do that?).
Here is How to Make Rice Milk
This quick and easy 4 ingredient (3 main ingredients + 1 sweetener) way to make homemade rice milk is naturally creamy and sweet, making it perfect for cereal or smoothies.
Prep / Total Time | 2 Hours and 15 Minutes
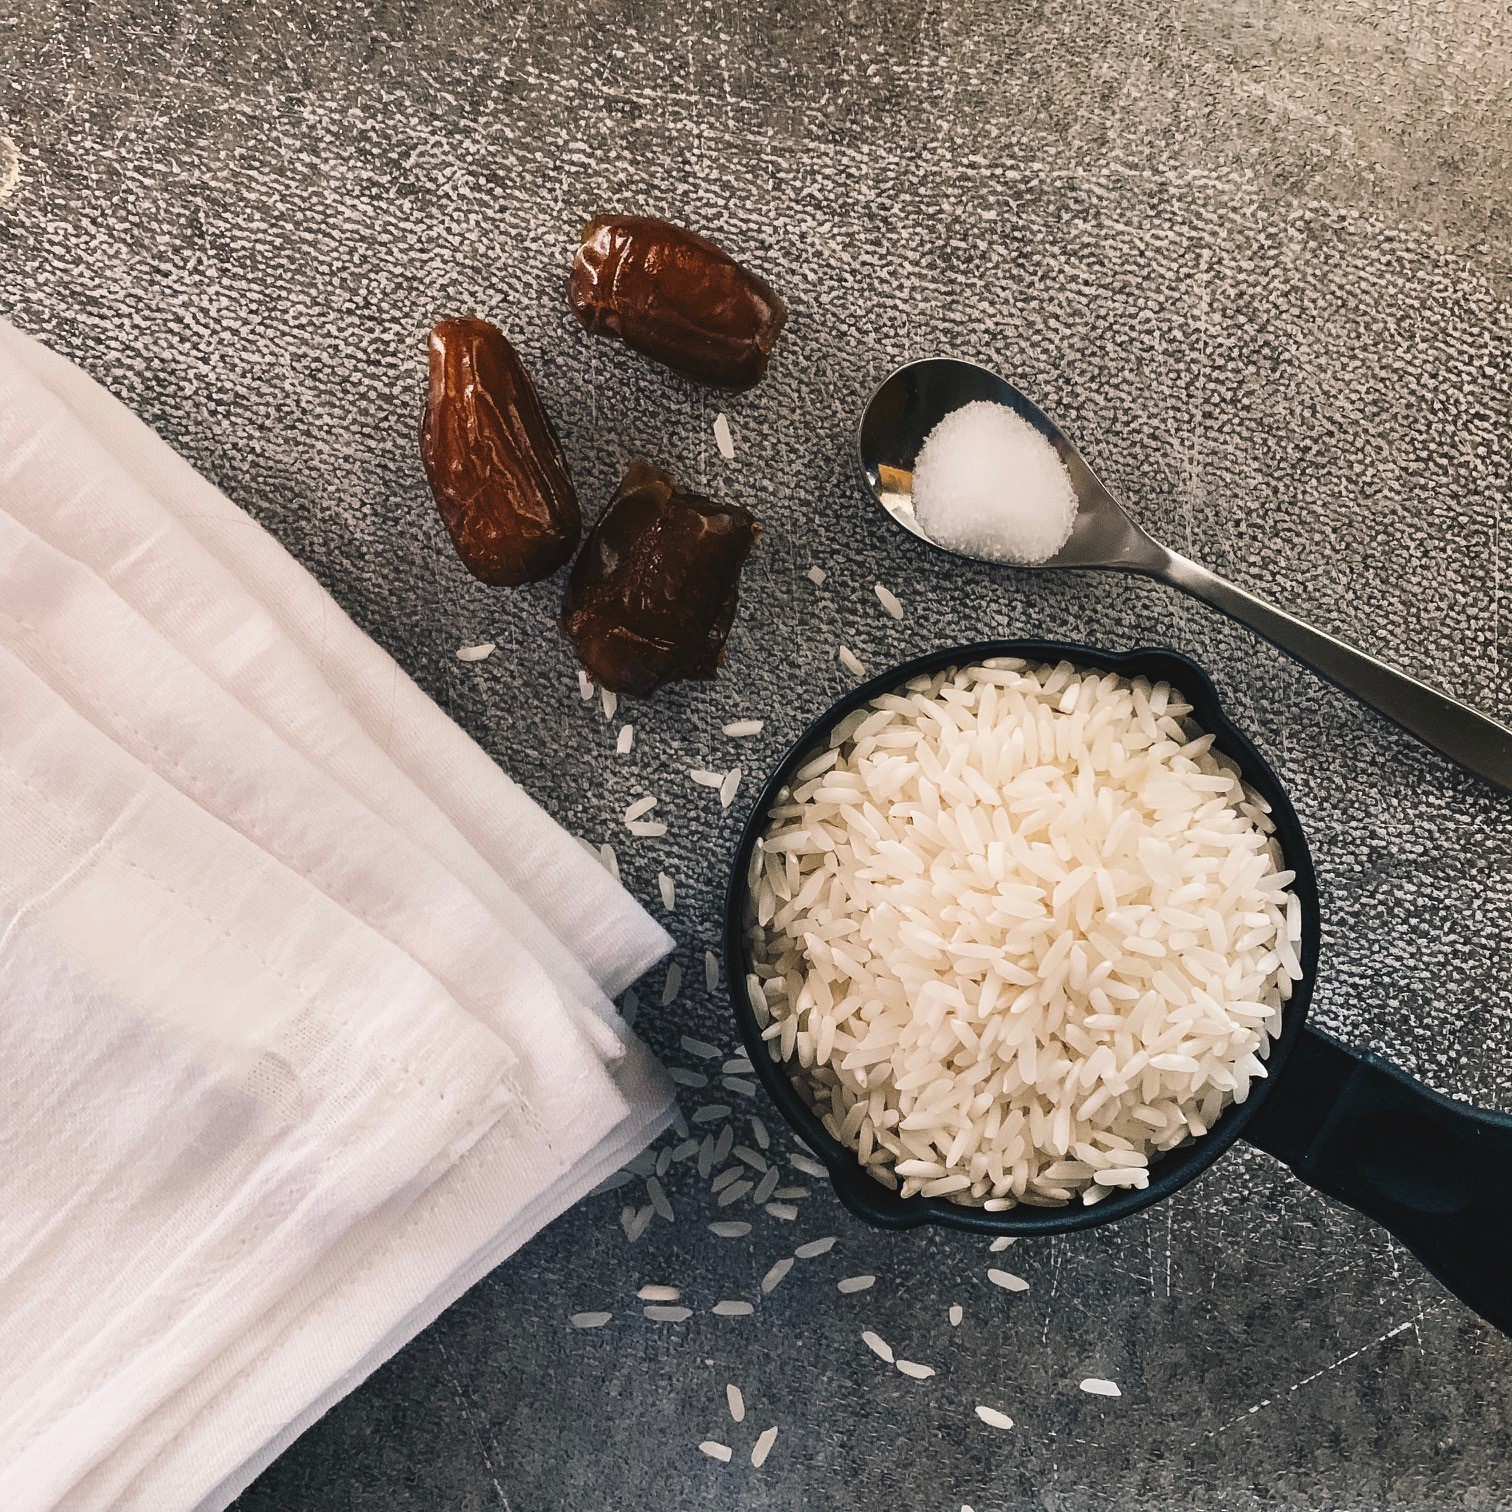
- 3/4 cup uncooked long grain rice
- 3 1/2 Cups of water (use less water for thicker, creamier milk!)
- 1 pinch of Salt
Choose your sweetener!
These are all optional to add flavor to your rice milk.
- 2 Pitted Dates
- 1 Tbsp of Maple Syrup
- 1/2 tsp vanilla extract
- 2 Tbsp of cocoa powder for “chocolate milk”
- 1/4 fresh berries for “berry milk” (might not keep as long in the fridge)
- A mix of some
Rice Milk Cooking Instructions
1. Soak your rice in 2 cups of very hot, but not boiling water by bringing your water to a slight boil then turn the heat onto a low setting for 2 hours. This water is outside of the 3 1/2 cups you will be using later. The rice should be soft but still very raw. You should be able to snap a piece in half with your fingernail with minimal effort.
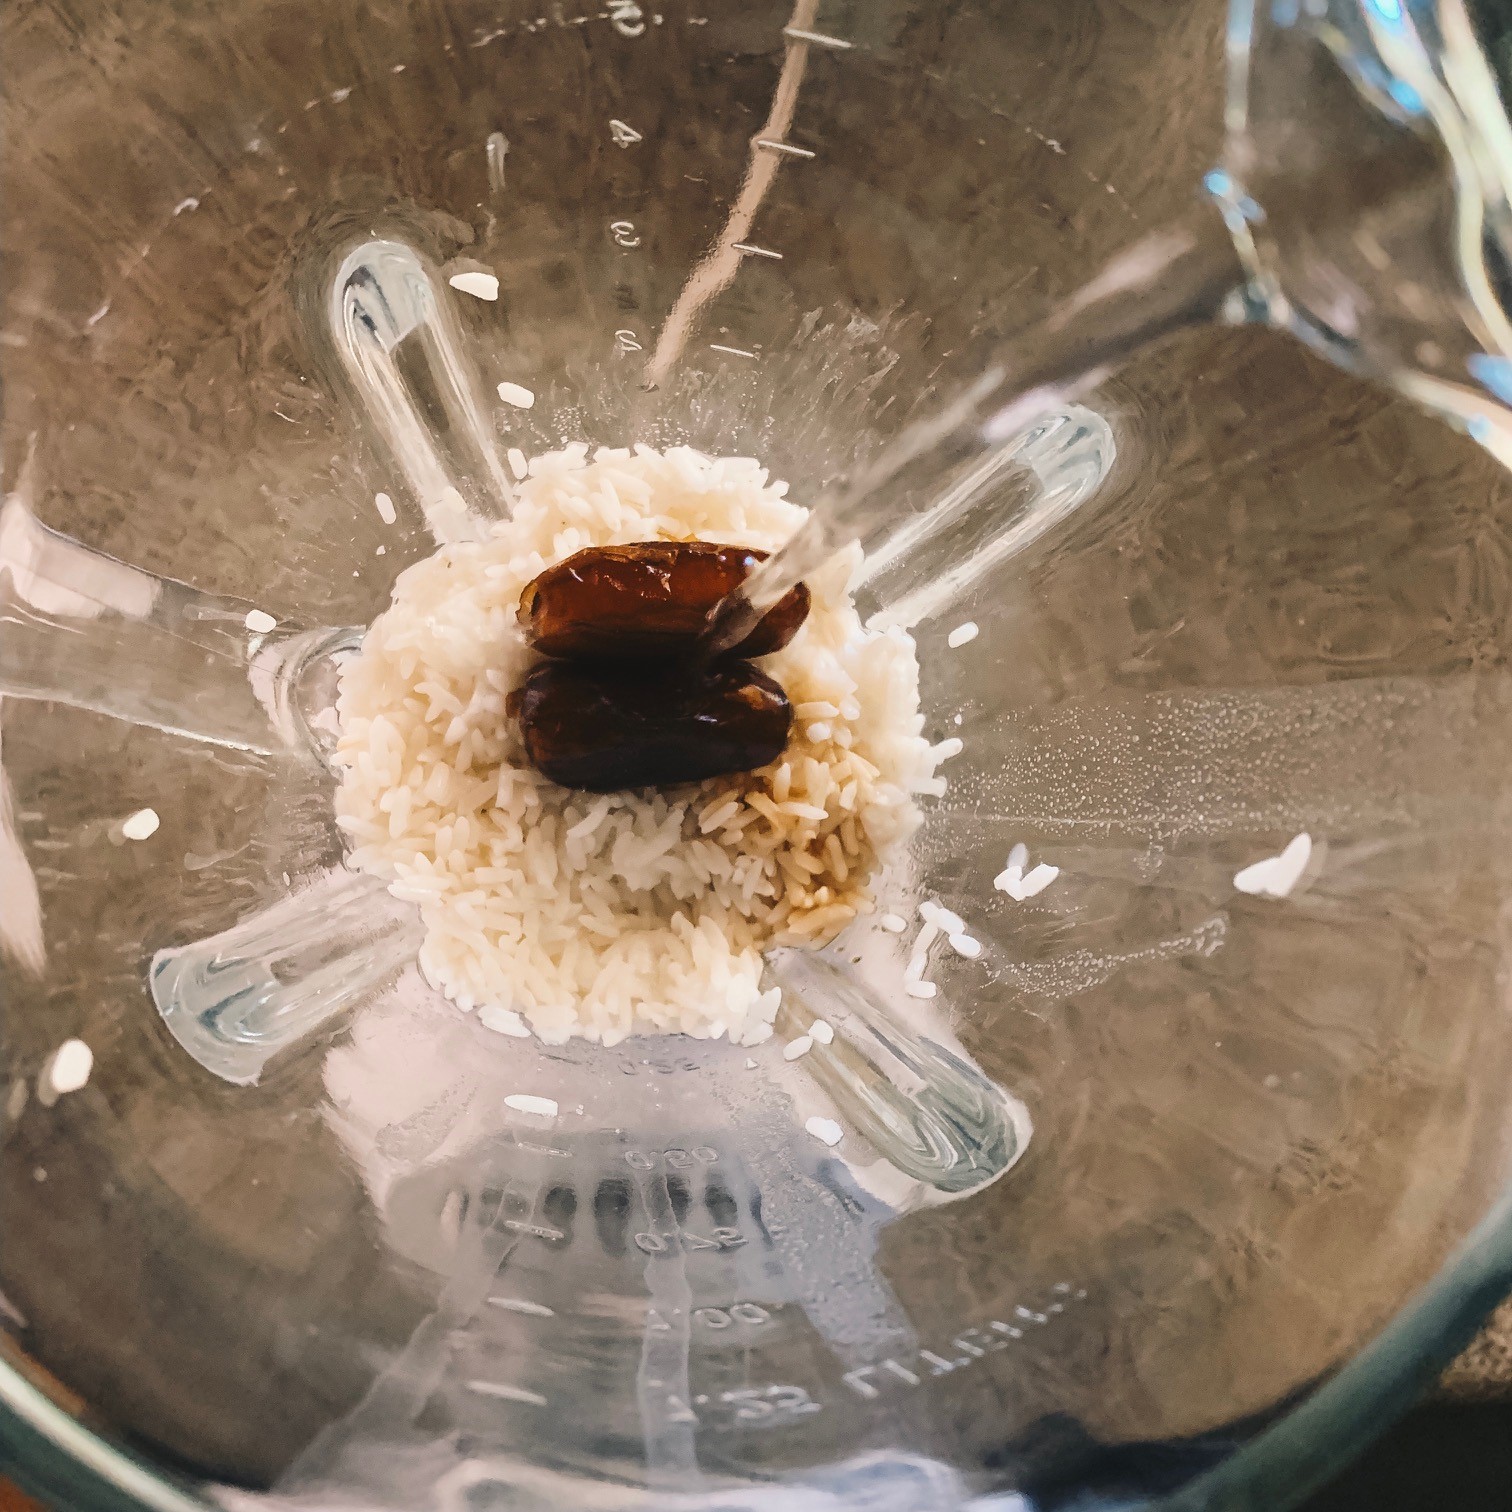
2. Drain and add rice to a high-speed blender.
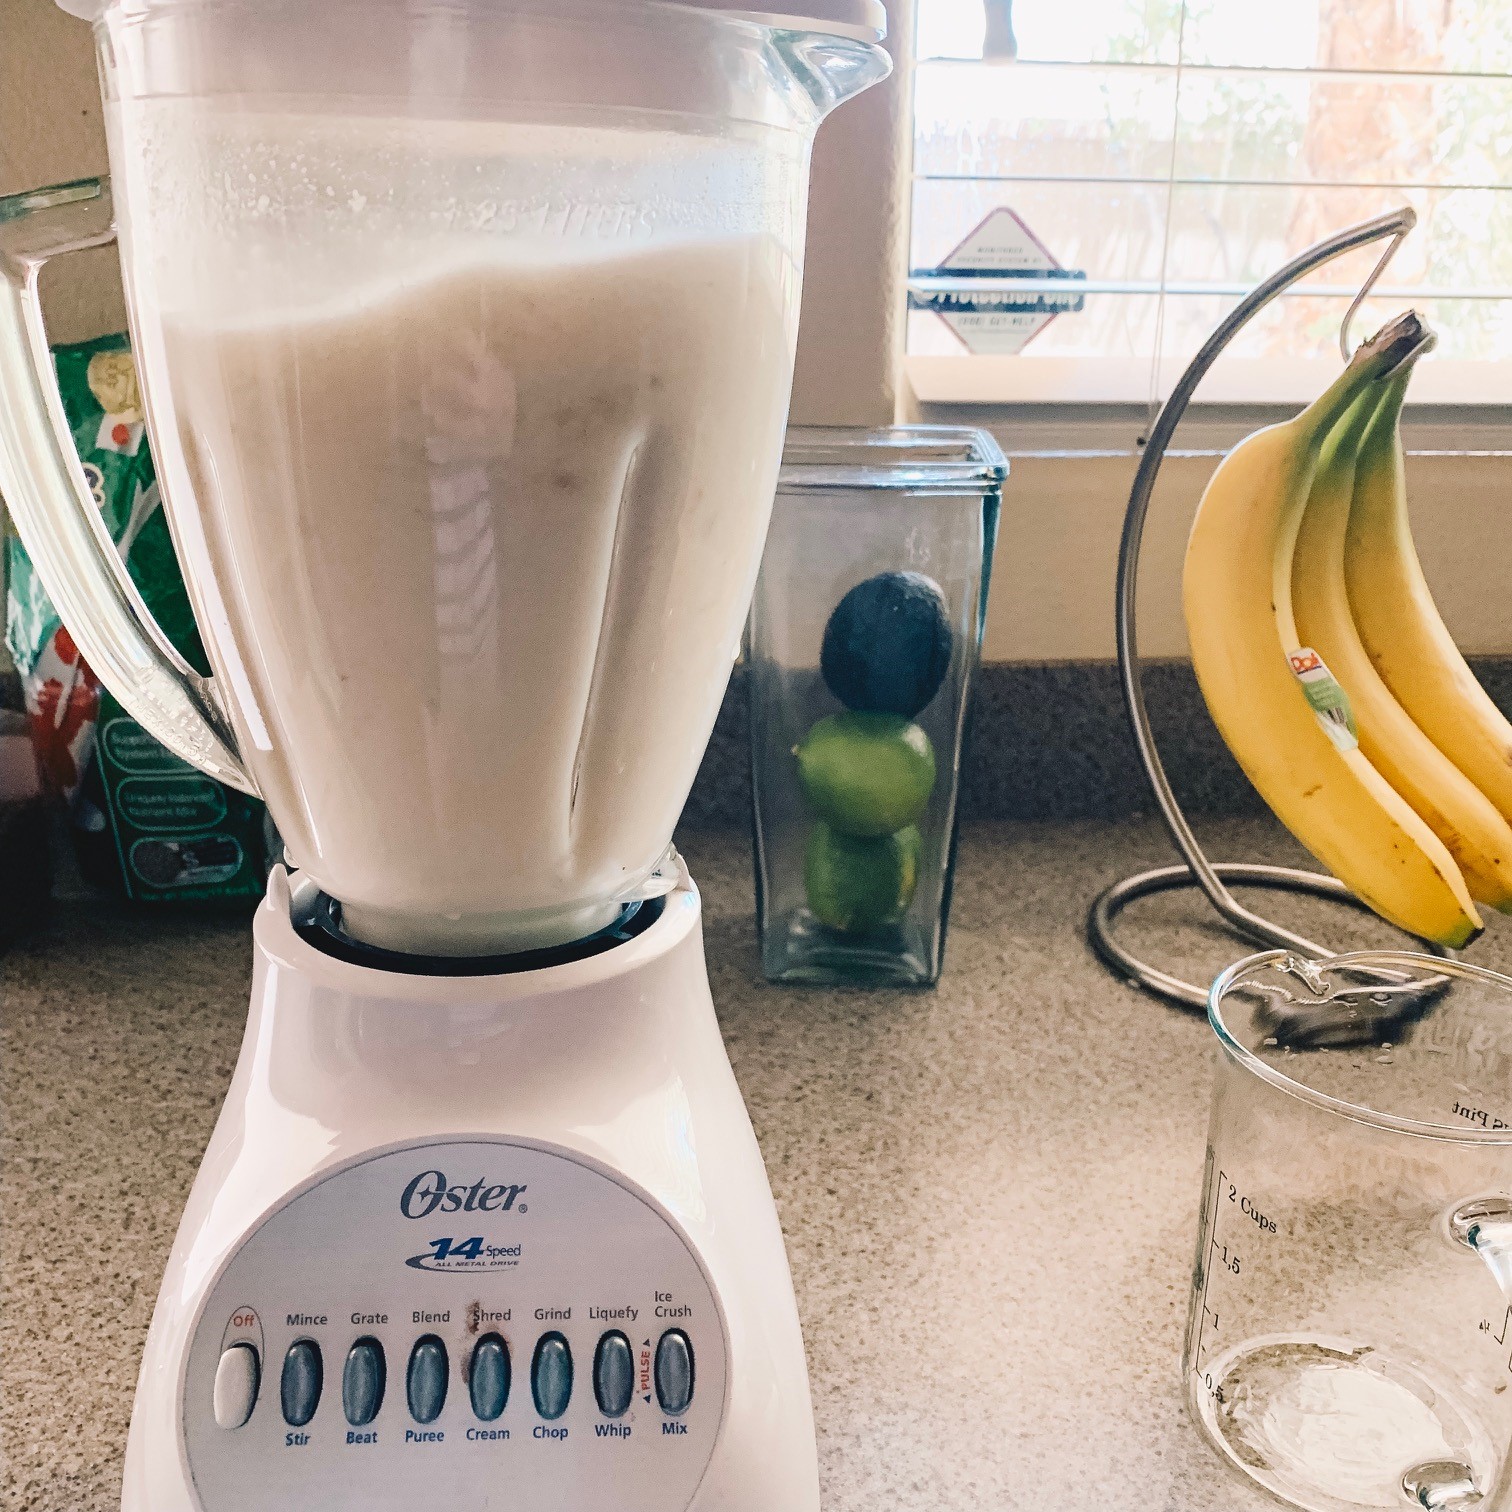
3. Add in the 31/2 cups of water, salt, and any additional sweeteners or add-ins into the blender. For my sweeteners, I chose 2 dates and a splash of Vanilla extract. Top with a lid and cover with a towel (there is a lot of liquid and it can splash out). Blend for about 1 minute until the ingredients are small specs. It does not have to be 100% pulverized.
4. Taste test! Spoon out a tad, taste to test sweetness. Not sweet enough? Add more of your ingredients.
5. Pour the mixture over a large mixing bowl or pitcher covered with a thin towel, I use these Utopia Kitchen Flour Sack Dish Towels or a t-shirt to strain straggling grains or ingredients. A double strain is warranted.
6. Transfer to a sealed container (jars work great) and refrigerate.
The rice milk will keep for 5 days in the fridge or up to a month in the freezer.
I found this recipe on Minimalist Baker and altered it to what seemed to work best for me.
Did you make this recipe? Use #dailycupofme on Instagram and I’ll show off your rice milk skillz on my story!
Liked this recipe? Share on Pinterest using the image below! Also, share what methods worked for you the comments below!

